Stop Oversharing in the Workplace!
As a SharePoint user, ensuring that your files are securely shared with the correct individuals is essential. Unintentional oversharing can lead to sensitive information falling into the wrong hands. Here's a detailed guide to help you review and manage your file-sharing settings in SharePoint to keep your documents secure.
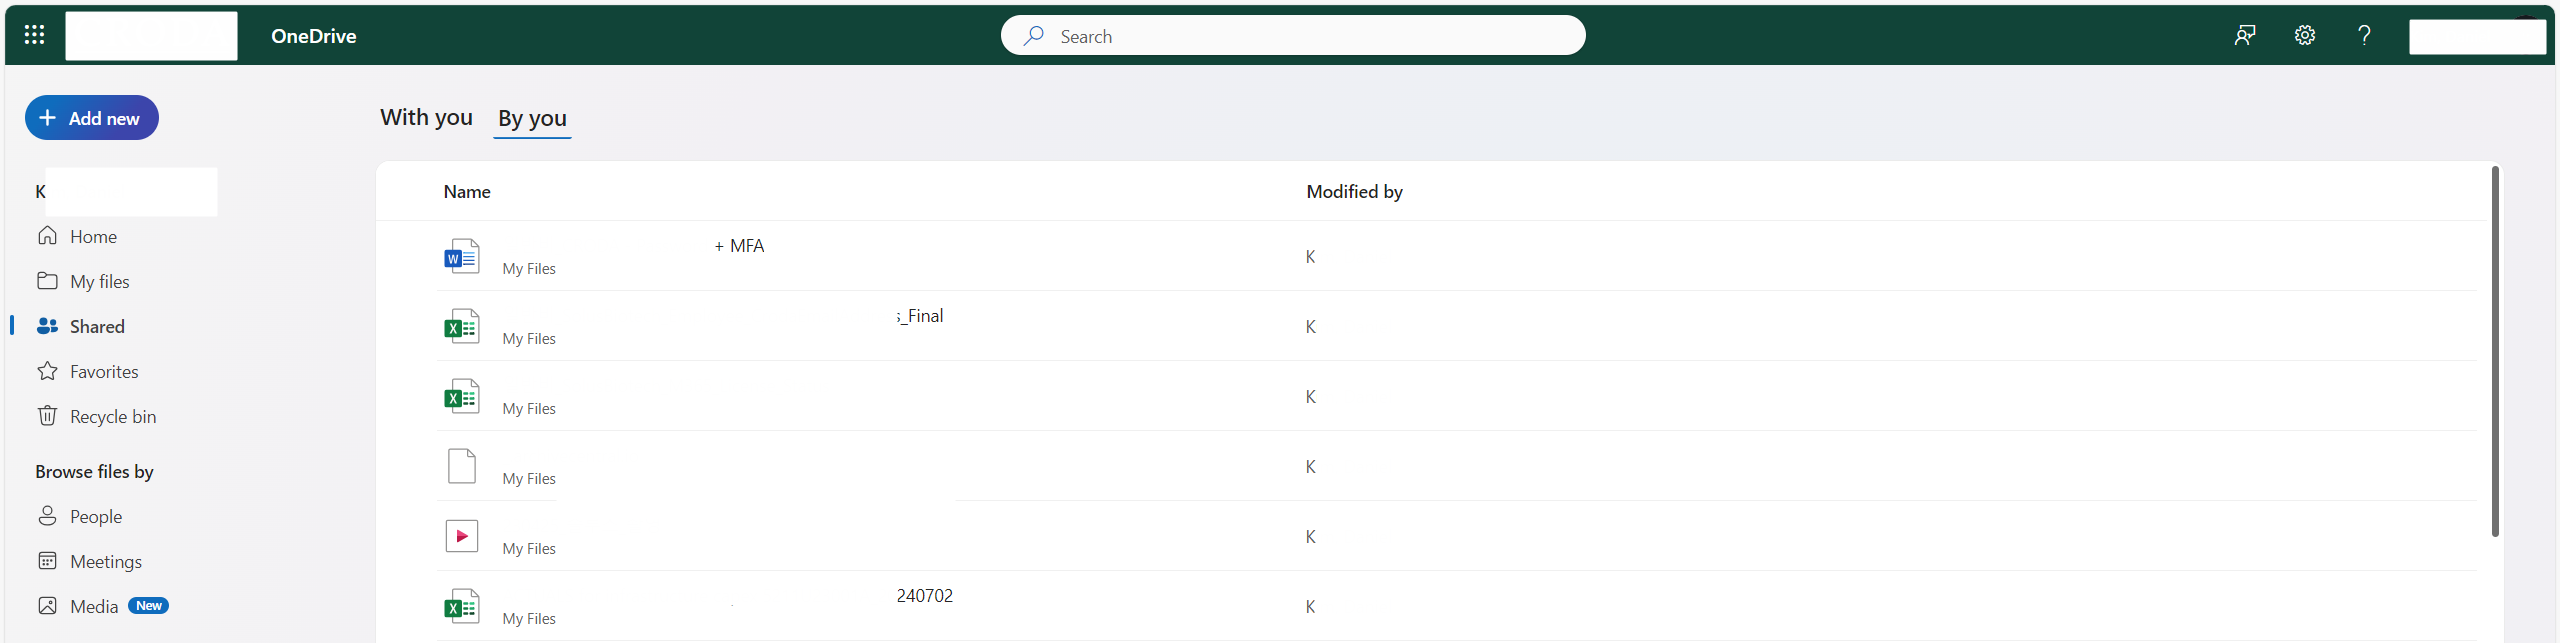
Step 1: Access Your Shared Files in SharePoint
Open your preferred web browser(Edge or Chrome) and navigate to your SharePoint site. Go to:
- OneDrive: Shared by you - OneDrive (sharepoint.com)
- SharePoint: [Your SharePoint Site URL]
Log in using your credentials if prompted.
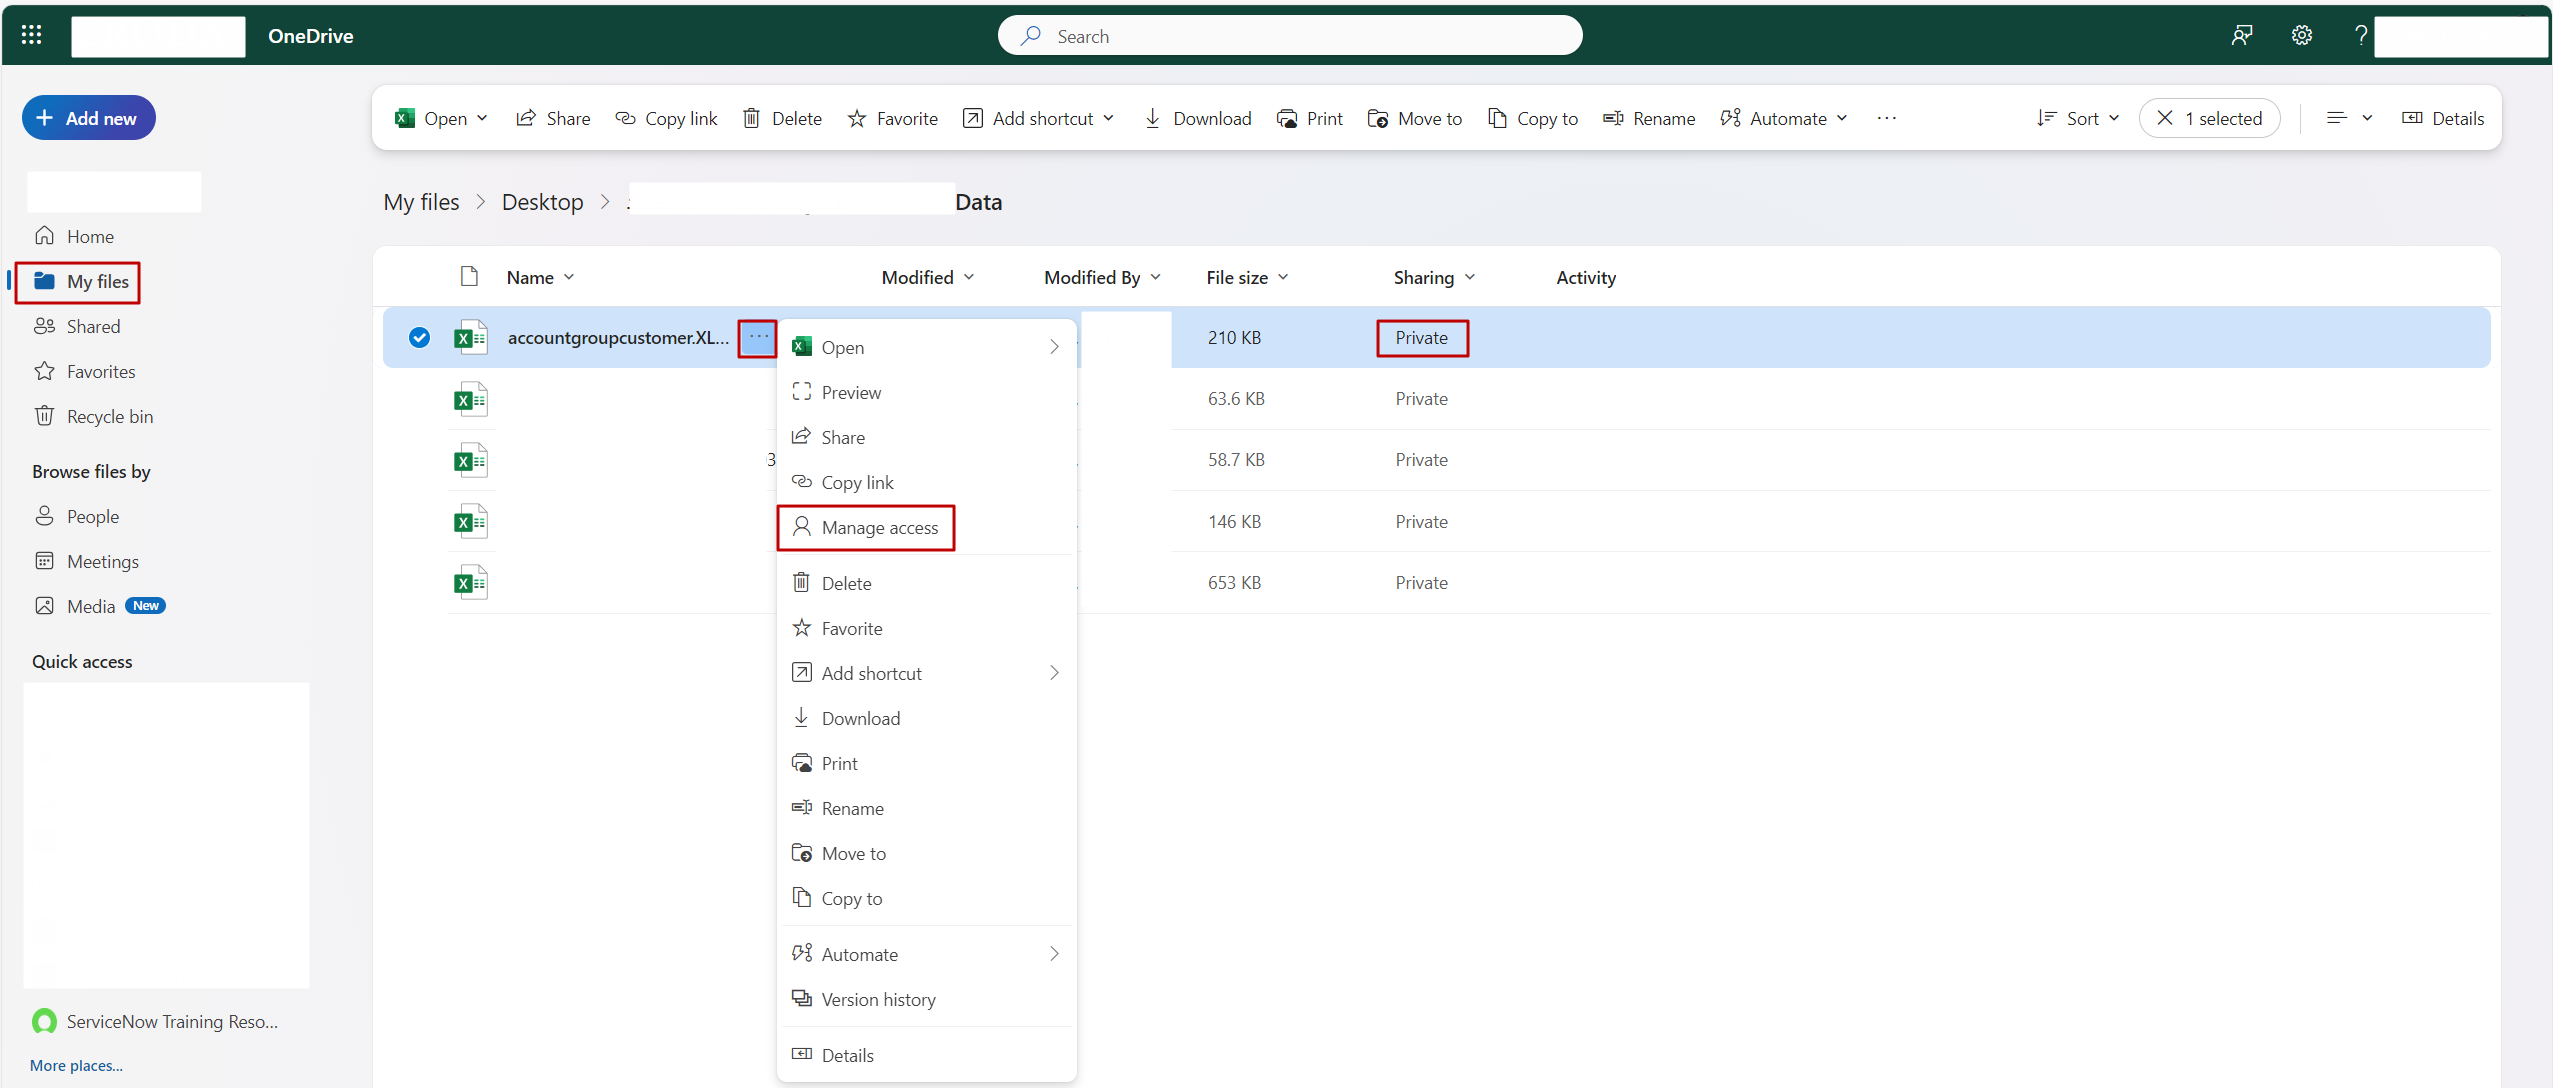
Step 2: Select the File
Within the document library or your OneDrive, locate the file you wish to check.
- Click on the file name to highlight it.
- Next, click on the three dots (ellipsis) or right-click to bring up the action menu.
- Select "Manage access" from the dropdown.
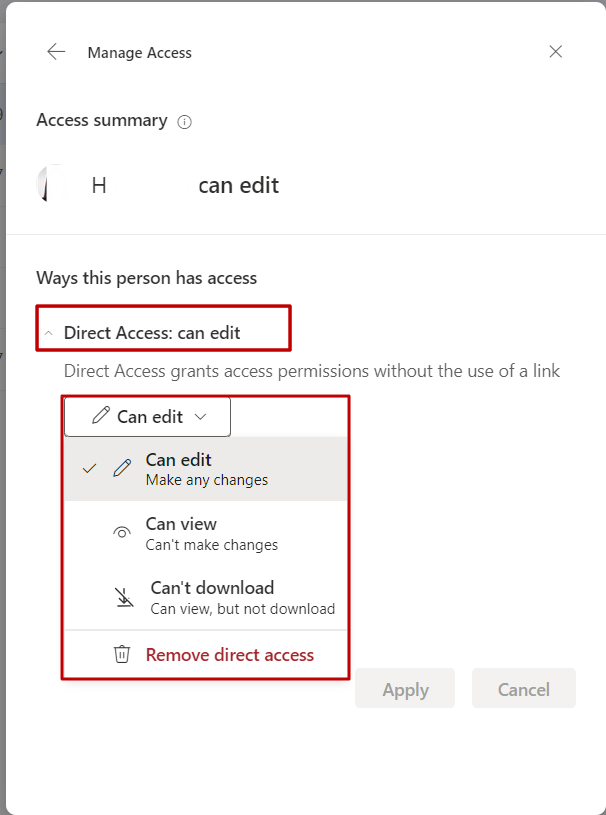
Step 3: Review and Manage Sharing Settings
In the Manage Access pane, you'll see a detailed view of who has access to the file, whether they can view, edit, or share it further.
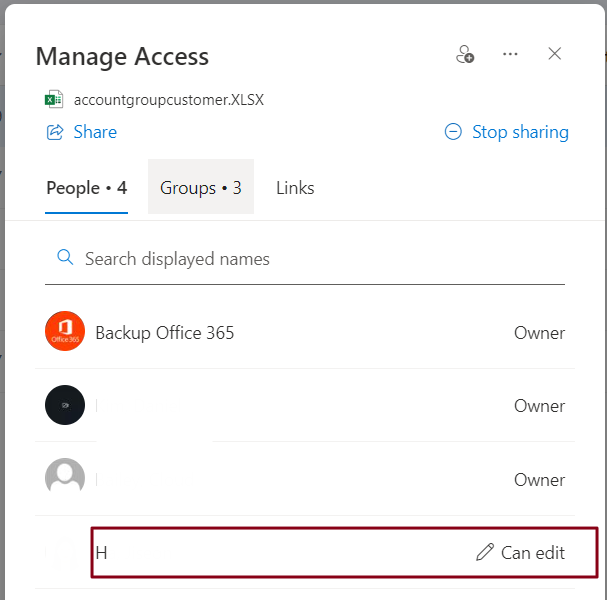
- Edit Access: Allows users to make changes to the file.
- View Only: Restricts users to view the document but not make changes.
- Public or External Sharing: Review if the file is shared outside your organization.
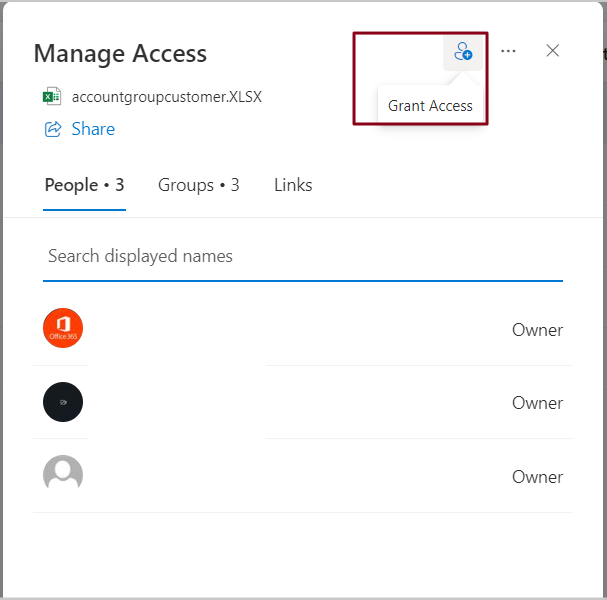
Here, you can:
- Add or remove individuals.
- Change the access level by clicking the dropdown next to each name.
- Stop sharing the file with everyone by clicking the "Stop Sharing" button.
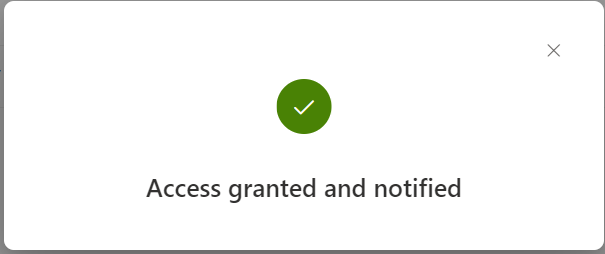
Step 4: Save and Confirm Changes
Once you have made all necessary changes, click "Apply" to update the sharing settings. Close the sharing pane once you’re done.
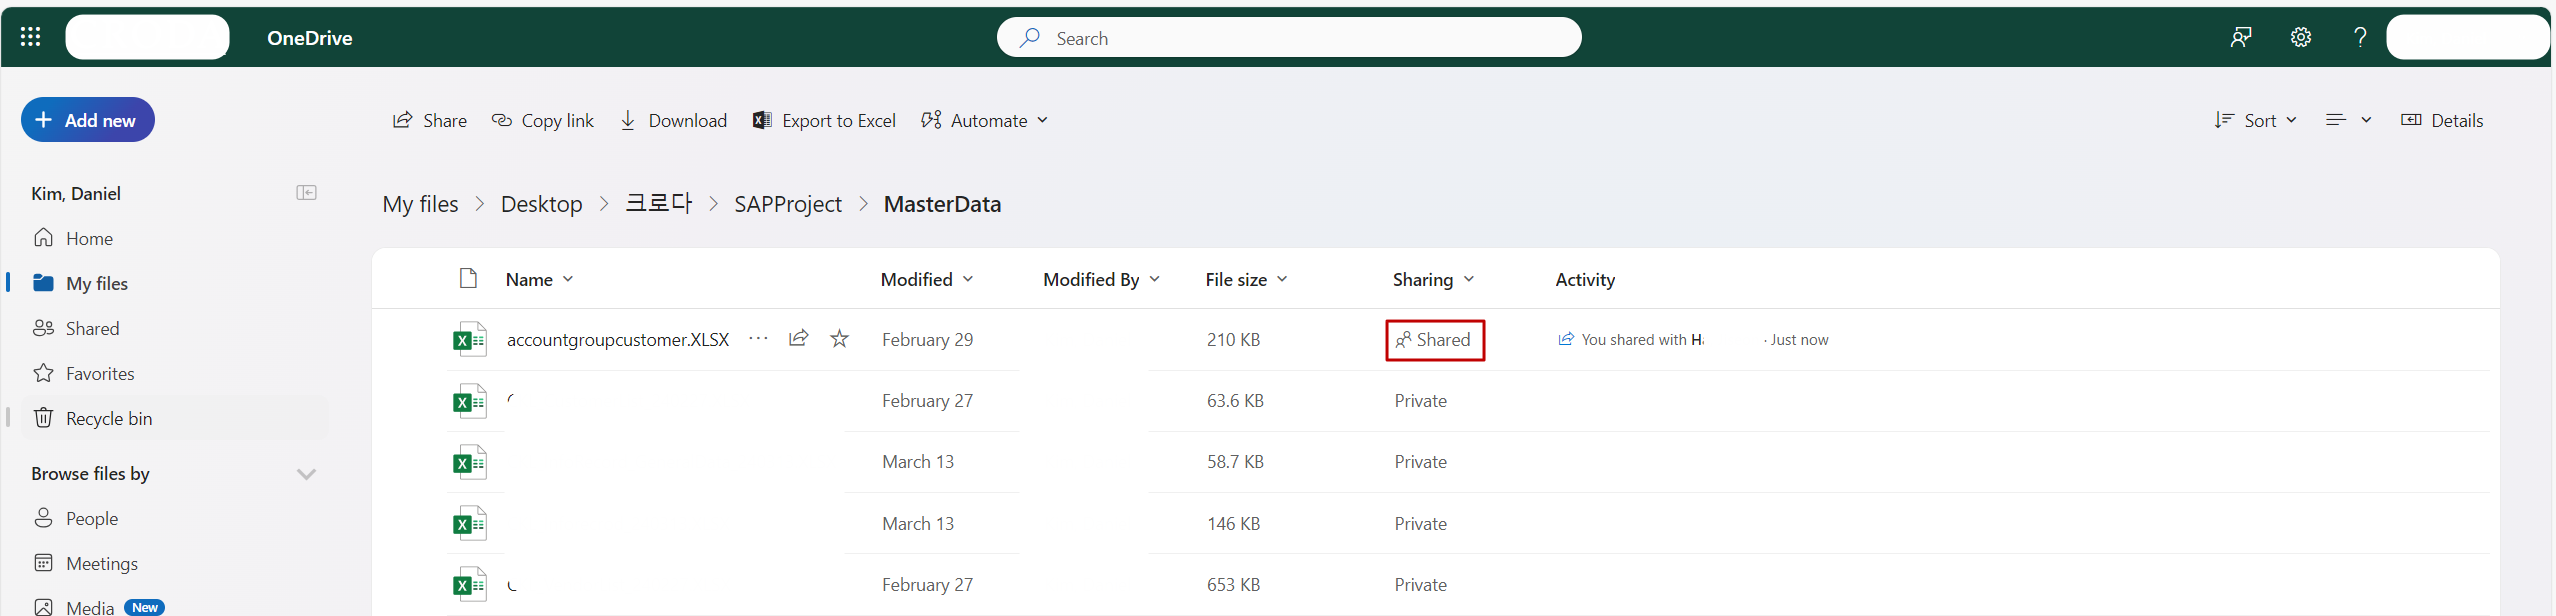
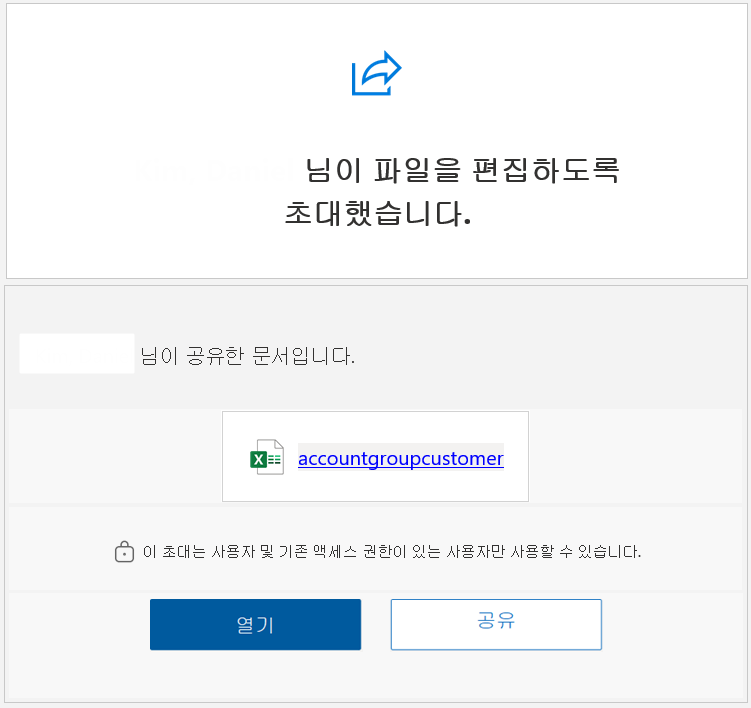
The result of File-Sharing
When the file sharing status is changed to "Shared," an email notification is sent to the recipients informing them that the file has been shared with them.
Best Practices for Secure File Sharing
- Regularly Review Access Permissions: Set a reminder to periodically review the sharing settings for files, especially those containing sensitive or confidential data.
- Limit External Sharing: Avoid sharing files with large groups or publicly, unless absolutely necessary.
- Use One-Time Links: Share files with external users via one-time access links to avoid long-term sharing.
- Track Sharing History: Enable file sharing notifications to keep track of who has viewed or edited your shared documents.
By following these steps, you can efficiently manage your SharePoint file-sharing settings and keep your company’s documents safe.
'IT' 카테고리의 다른 글
| 티스토리를 네이버에 검색되게 하는 방법 (5) | 2024.10.23 |
|---|---|
| HMI와 SCADA (1) | 2024.10.23 |
| Windows Dynamic Lock (2) | 2024.10.17 |
| Outlook Meeting Room creation(ft. Outlook Calendar) (2) | 2024.10.15 |
| How to Check the Battery Efficiency of a Laptop PC (0) | 2024.09.12 |


